In this article you will learn what a Channel page is and how to edit it.
The progress in Mind site is build upon several closed channels, with their own content, menus and domain. This way every piece of content exists under the Progress in Mind umbrella, but is organized under different channels, and the channel page itself serves as the homepage for each channel. A channel is simply a website within the Progress in Mind platform. In the CMS channels are also sometimes referred to as Hubs.
The Editors channel, where this article belongs, is itself a channel - a channel only for users with content editing permissions. The Progress in Mind page is a Channel, as is the THINC page, the Rethink Depression page and the Lundebeck Institute Campus page.
As this article is written, Progress in Mind Brazil, Progress in Mind MENA, Progress in Mind Italy, Progress in Mind Brazil, Progress in Mind USA and Progress in Mind Canada channels also exists. Local channels can serve local legislations and markets, feature content from other channels, and have their own exclusive content. To read more about how to create, clone and edit content to a channel, this channel (Editors Channel) offers a comprehensive collection of articles describing the content creation process in detail. For an example see:
Introduction to the Progress in Mind CMS
Tips, tricks and best practices for articles in the CMS
A Channel has its own logo and menu

In the Hub logo tab you can upload a logo to the Hub.
Channels are created by Administrators and logos are created and uploaded on its creation - so this setting is always set when you are editing Channel content.
You can edit the menu directly from the channel page. Place your mouse over the menu, and click the small cogwheel icon.
[[{"fid":"3098","view_mode":"teaser_large","fields":{"format":"teaser_large","field_file_image_alt_text[und][0][value]":"","field_file_image_title_text[und][0][value]":""},"type":"media","link_text":null,"attributes":{"height":126,"width":312,"style":"width: 312px; height: 126px;","class":"media-element file-teaser-large"}}]]
Choose the List links option, and you can edit and add links to your menu.
[[{"fid":"3111","view_mode":"teaser_large","fields":{"format":"teaser_large","field_file_image_alt_text[und][0][value]":"","field_file_image_title_text[und][0][value]":""},"type":"media","link_text":null,"attributes":{"height":276,"width":770,"class":"media-element file-teaser-large"}}]]
Nested menu-items
If you wish to nest menu-items, create a top-level menu-item, and write <nolink> in 'Path' input, remember to set the menu-item to 'Show as expanded'. This creates a non-linkable item to hold your nested menu-items.
[[{"fid":"3124","view_mode":"teaser_large","fields":{"format":"teaser_large","field_file_image_alt_text[und][0][value]":"","field_file_image_title_text[und][0][value]":""},"type":"media","link_text":null,"attributes":{"height":331,"width":430,"style":"width: 430px; height: 331px;","class":"media-element file-teaser-large"}}]]
Create your menu-items and drag them under your top-level menu-item.
[[{"fid":"3125","view_mode":"teaser_large","fields":{"format":"teaser_large","field_file_image_alt_text[und][0][value]":"","field_file_image_title_text[und][0][value]":""},"type":"media","link_text":null,"attributes":{"height":382,"width":580,"class":"media-element file-teaser-large"}}]]
The nested menu-items will be shown when the user clicks the toplevel menu-item.
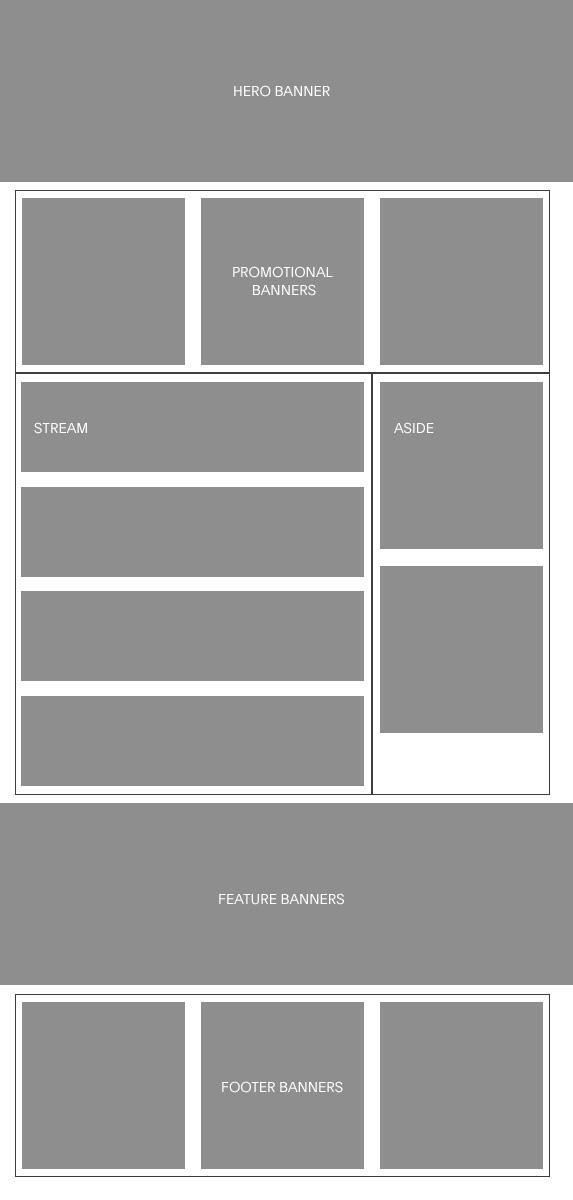
A channel consist of three main elements:
- Hero Banner
- Stream
- Featured content
The Hero Banner holds the channel title and description, and the stream holds 'all' content that belongs to the channel.
Featured content can be displayed several places on the channel page and is optional. In the image to the left, you can see the position of all possible elements on a channel page.
The Promotional Banners, Aside, Feature Banners and Footer Banners are all possibilities to feature content, if none is created none will be displayed.
It depends on your specific needs whether you want to promote content as a Promotional Banner (in the top of the article flow), as a Footer Banner (in the end of the article flow) or Aside (next to your stream).
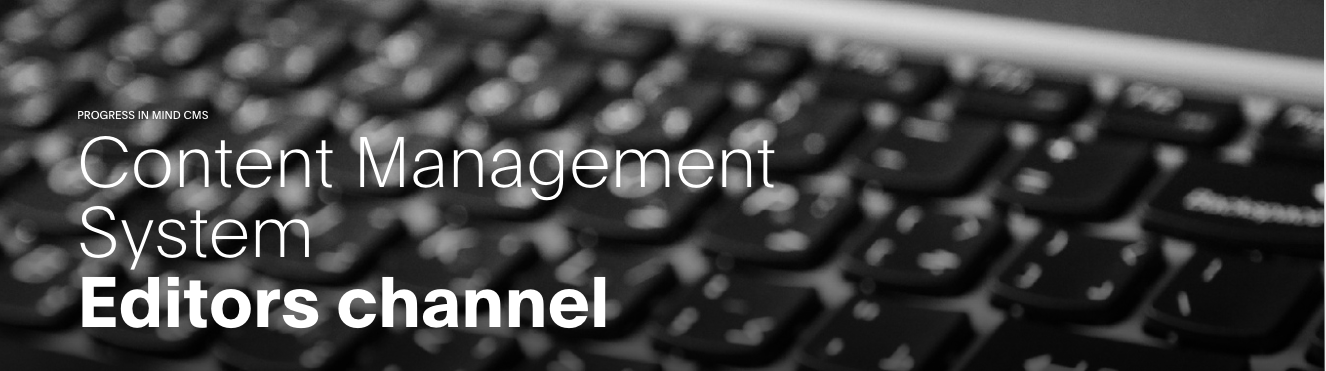
The Hero Banner has the following settings:
- Title - Only for backend display.
- Image - The background image of the banner
- Image Styling
- Logo - You can add a dedicated logo, that are placed in the bottom/right corner
- Label
- Pretitle
- Title - This title will overwrite the main title
- Body
- Link - Makes the herobanner a link.
Read more about the Hero Banner in this article Content Creation - tab settings
Channel stream
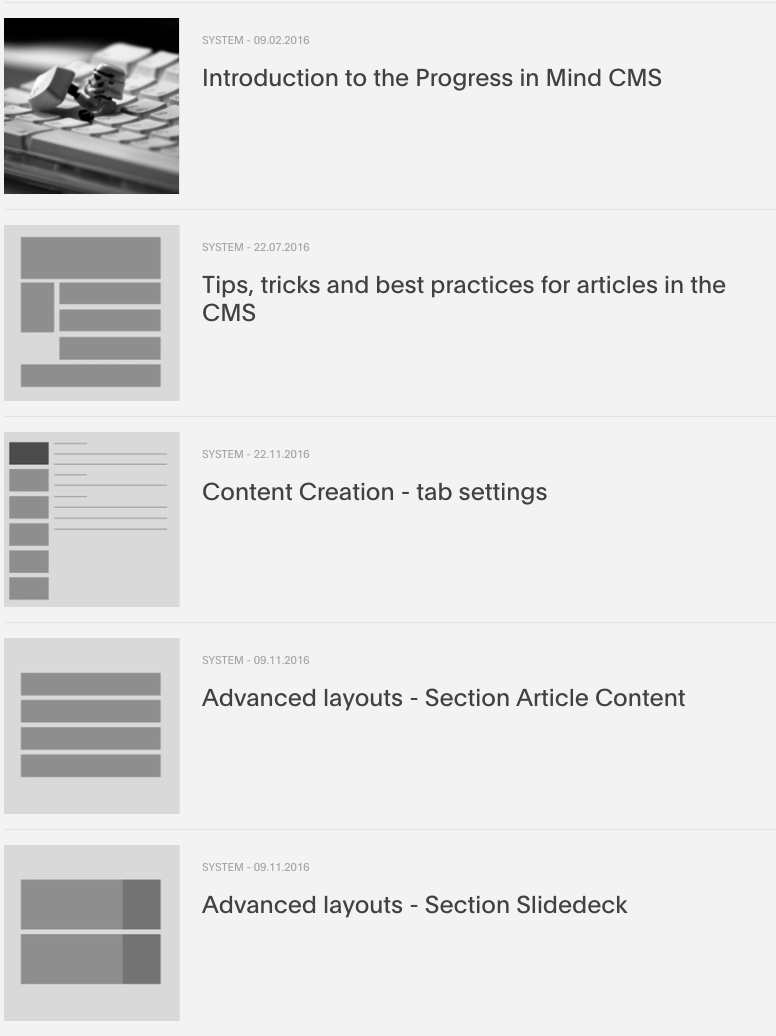
Content belonging to a channel is automatically feeded to the Channel stream, and is by default sorted by post date.
You can easily change the stream order within the content stream on a channel.
In the Stream order and Featured content tab you can change the Stream order by adding articles to the stream. The articles will be displayed first in the stream, in the order you have chosen.
Also, you can make an article stand out in the stream by enabling the setting Featured on the article itself.
[[{"fid":"3113","view_mode":"teaser_large","fields":{"format":"teaser_large","field_file_image_alt_text[und][0][value]":"","field_file_image_title_text[und][0][value]":""},"type":"media","link_text":null,"attributes":{"height":409,"width":773,"class":"media-element file-teaser-large"}}]]
Go to the article and click edit. In the Publishing tab, choose the setting Featured and your article will be displayed as featured in the stream
You can also choose not to display an article in the stream. Edit the article, and in the Publishing tab, choose the setting Do not show in streams, and your article will not be visible in the Channel Stream.
There are several ways to feature content on your channel.
In the tabs:
- Hero Banner
- Aside
- Stream order and Featured content
- Footer Banners
You can choose the content you wish to stand out on your channel page, and they will be displayed different places on the Channel page.
The Hero Banner itself can be used to feature content by linking it to content.
Also in the Hero Banner tab, you have the possibility to add Promotional Banners - that are displayed right after your Hero Banner. An example of the Promotional Banners can be found in the article: Content Creation - tab settings
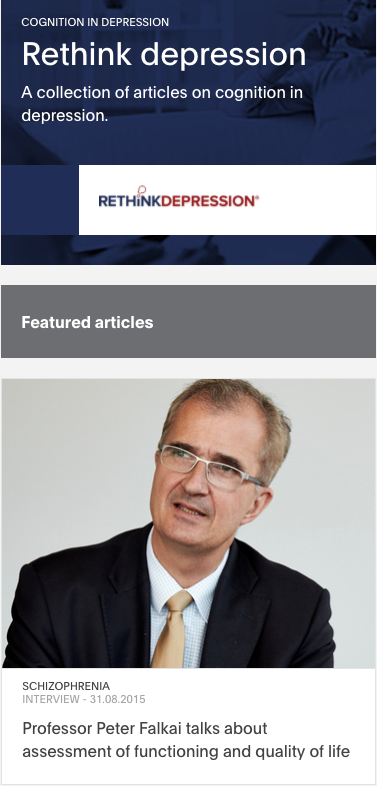
In the Aside tab you can add featured content in the right side next to your stream content.
You can add:
- Channel Teaser Box - promote other channels
- Featured Aside - Promote featured content
- Banner Box - Custom box to promote content
- Banner Box newsletter - A newsletter promo box
- Banner Box Pop Up - Displays a cookie based pop-up box.
To read more about the different Aside boxes, read the article Content Creation - tab settings - Footer Banners Tab.
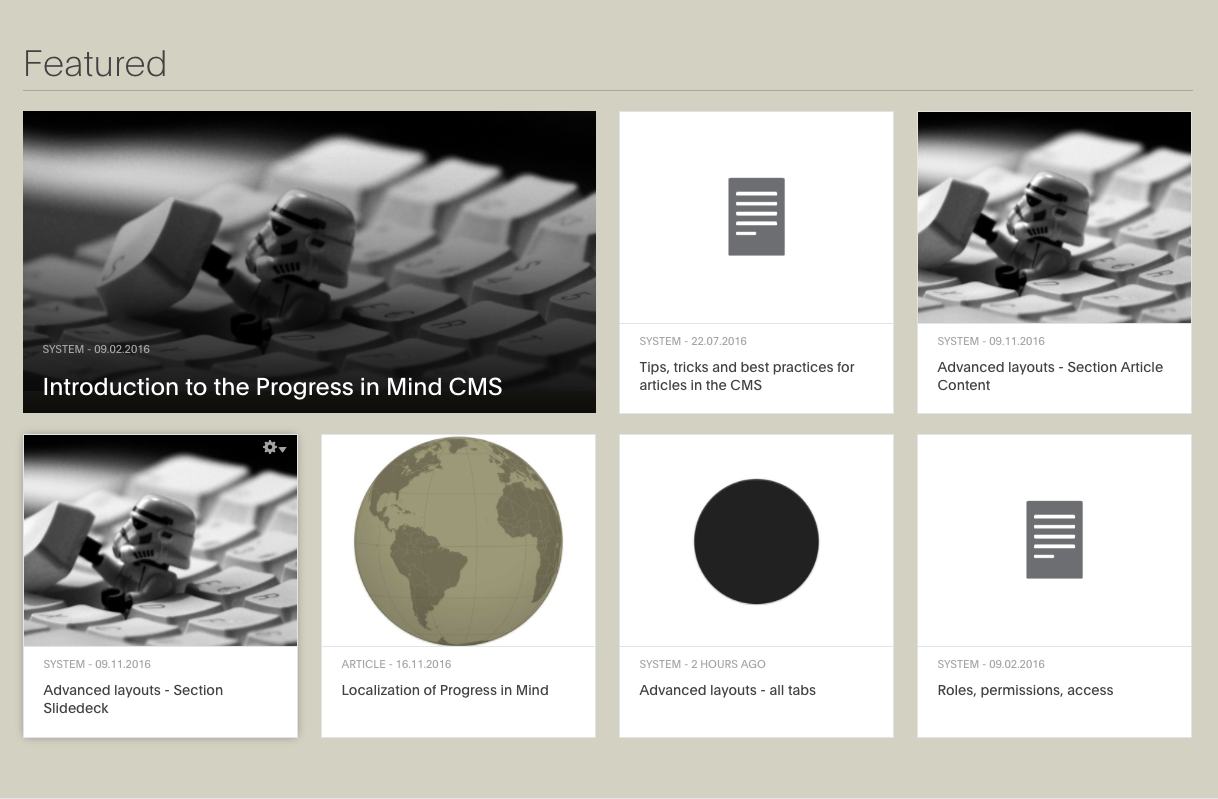
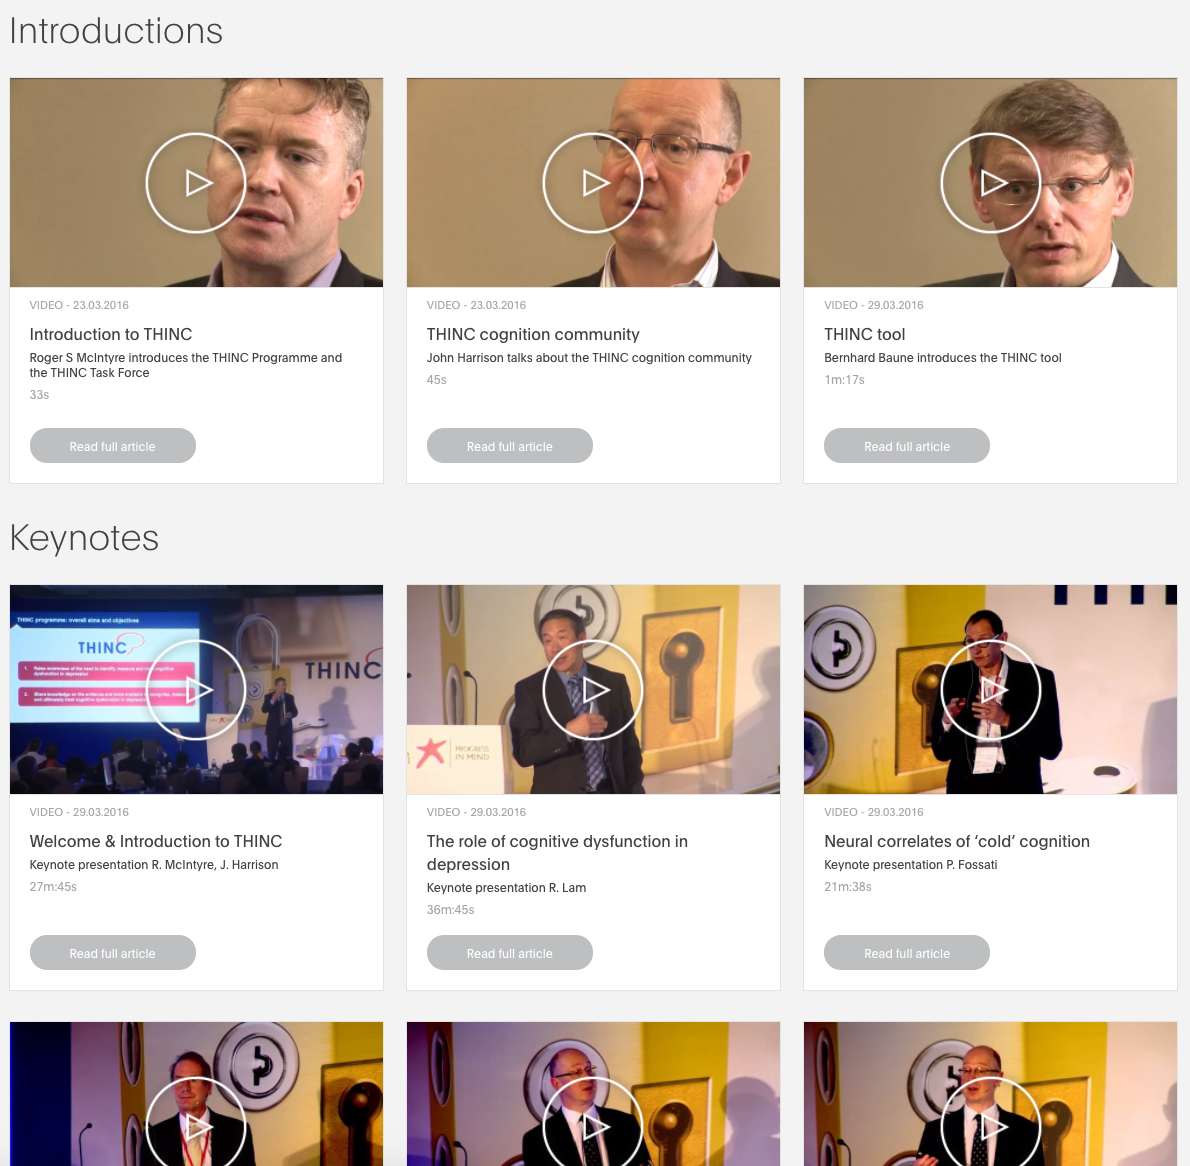
In the Featured content tab you can add:
- Feature Box Article - a colletion of articles
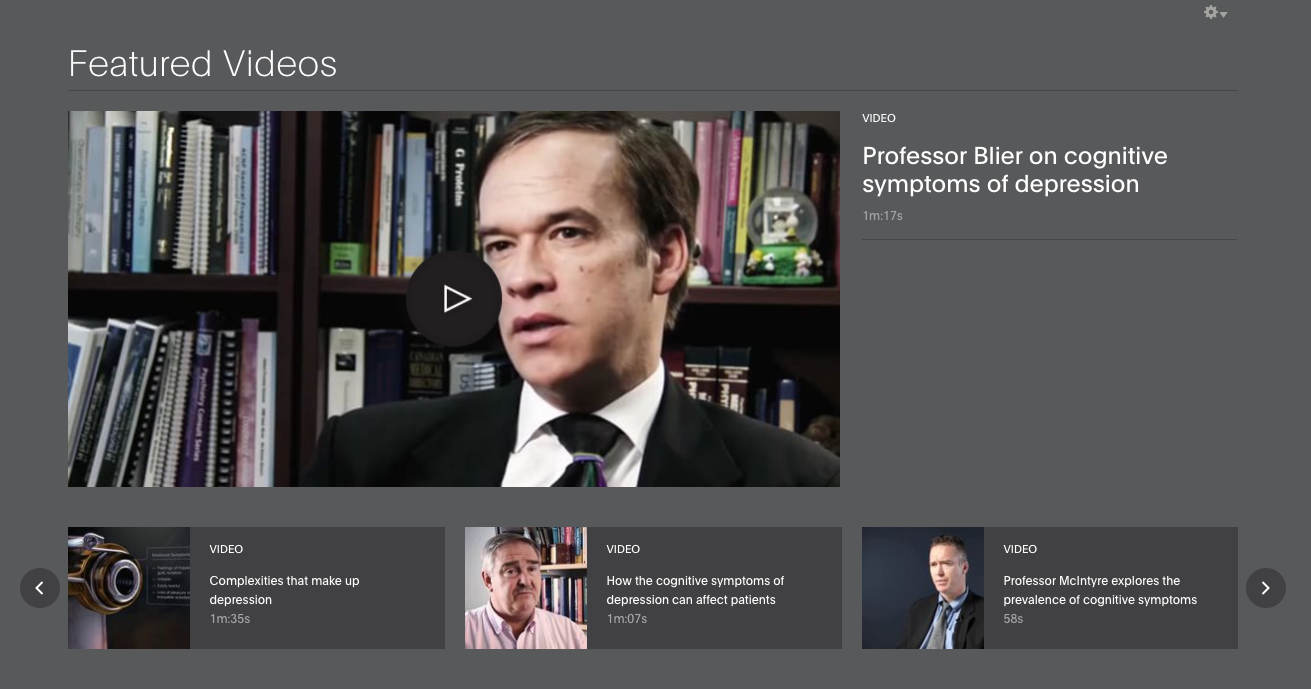
- Feature Box Video - a collection of videos
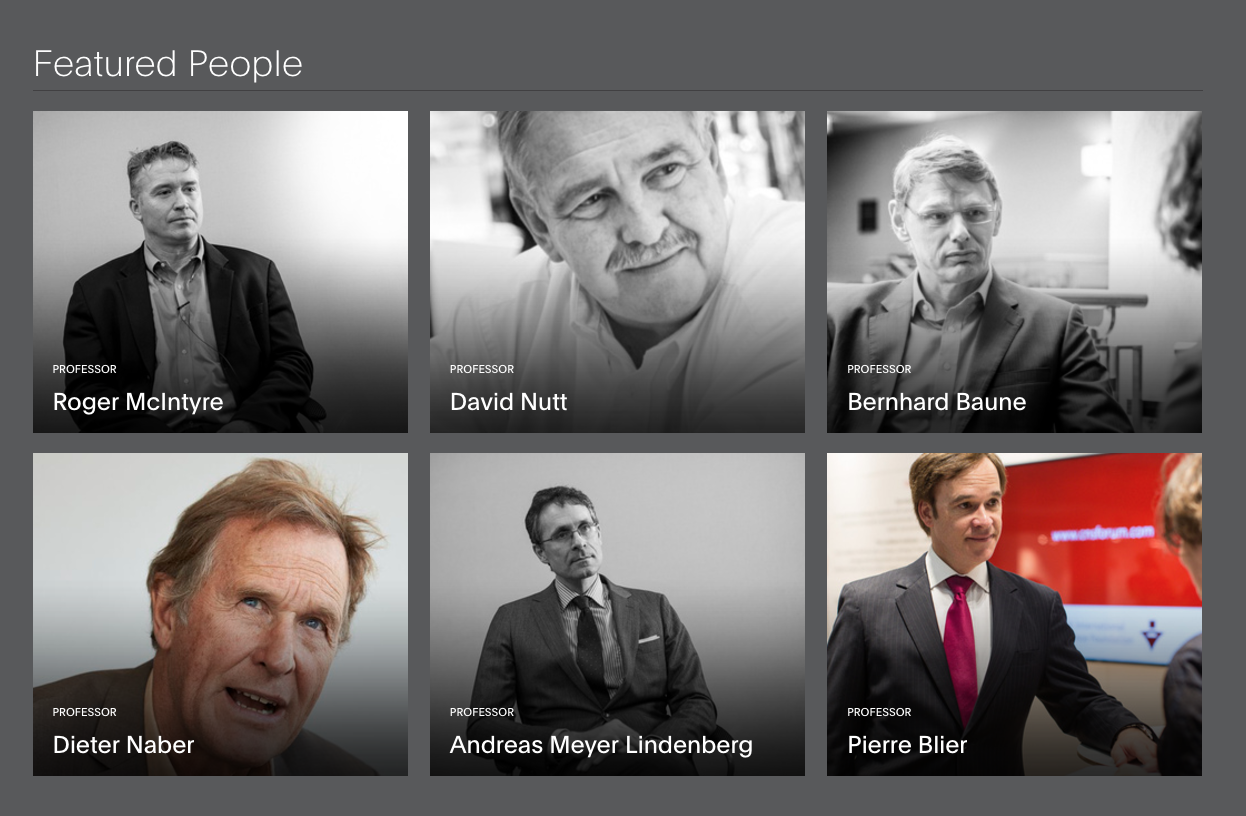
- Feature Box People - a collection of people
- Feature Box Collection - a collection of articles, only used on content pages, not on channel pages
To read more about Featured Content, read the article Content Creation - tab settings - Feature Banners.

In the Footer Banners tab you can add banner boxes right before the footer.
You can add:
- Channel Teaser Box - A reference to another Channel
- Banner Box - A custom box - can link to any article or custom URL
- Banner Box Newsletter - A newsletter signup box.
To read more about banner boxes, go to the article Content Creation - tab settings - Footer Banners tab.